CS 453: Using Subversion In Eclipse
Starting a new Project
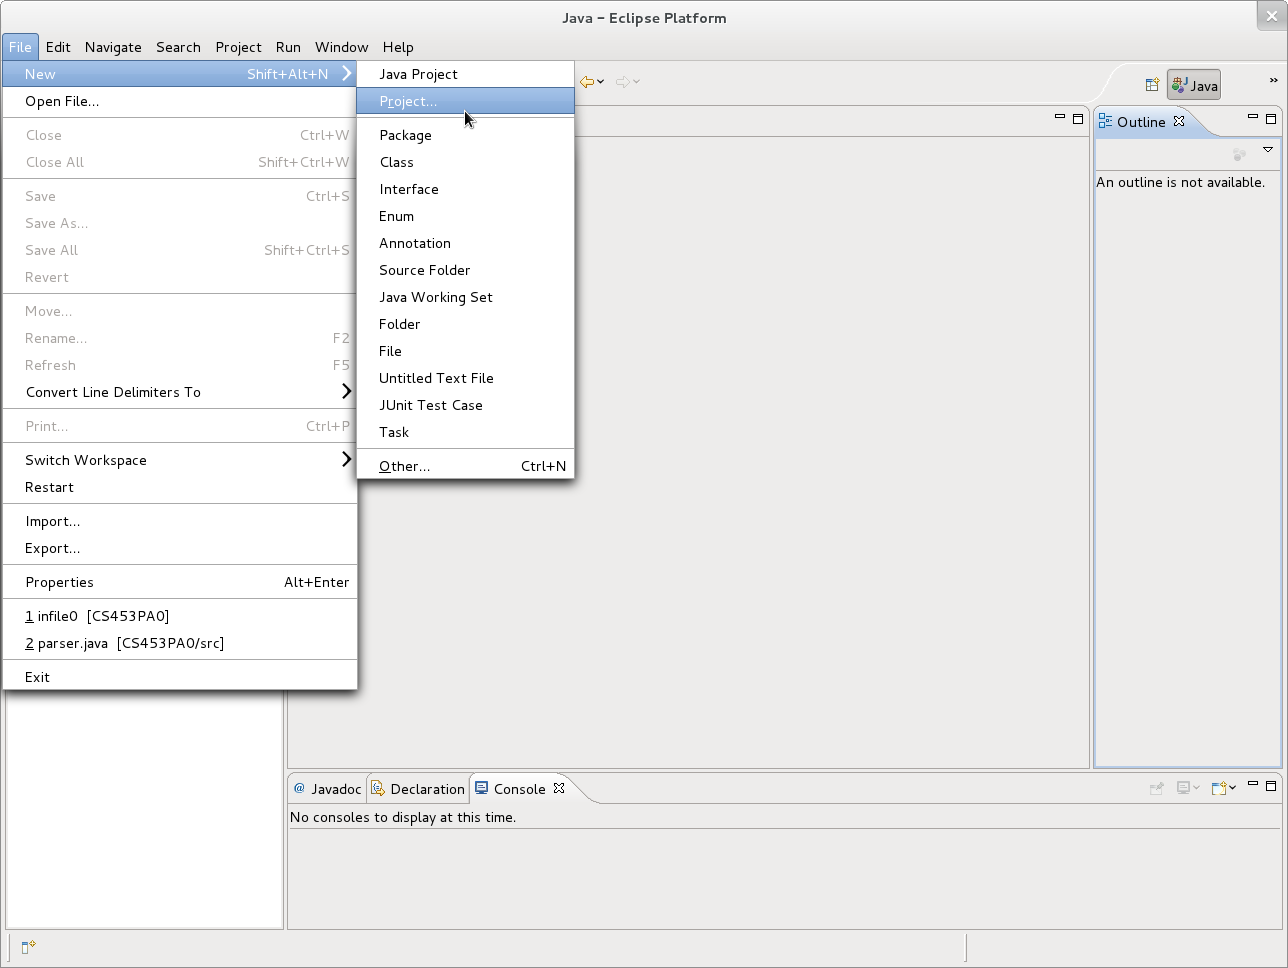
Step 1) Click on the File menu then choose
New>Project...
[ShowMe].
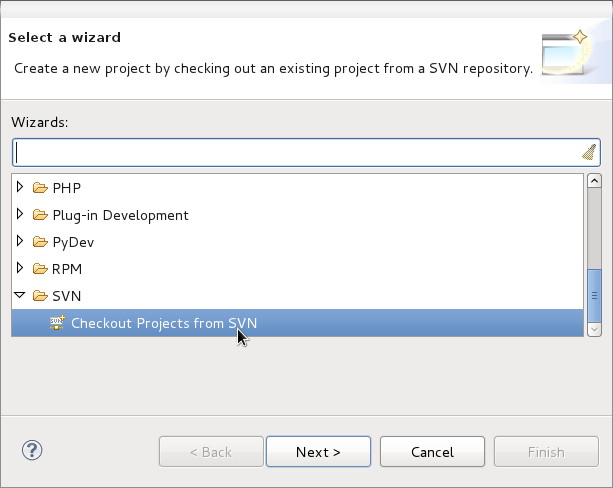
Step 2) In the Dialog box that pops up scroll down and highlight
Checkout Projects from SVN. This option appears under the folder
labeled SVN. After highligting this option click Next.
[ShowMe].
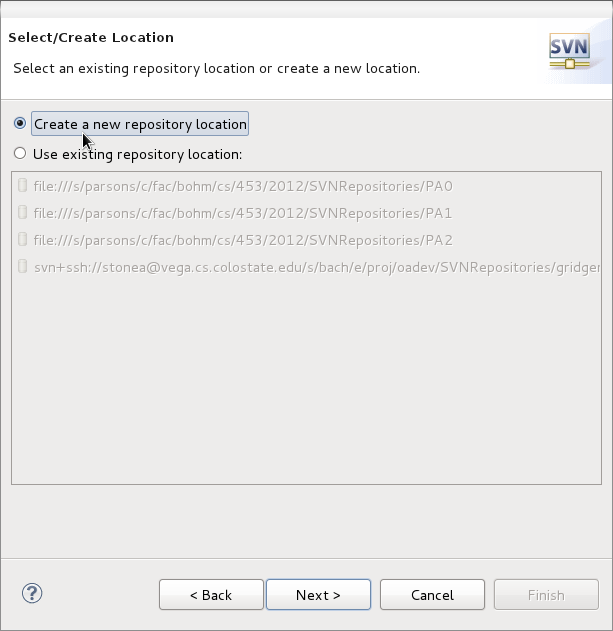
Step 3) Click on the Create a new repository location radio
button, then click Next.
[ShowMe].
Step 4) Enter in the URL for your repository. If you're on a department
machine start this URL with file:// and then follow that with the path
to your repository. For example:
file:///s/chopin/l/grad/stonea/SVNRepositories/P2
[ShowMe].
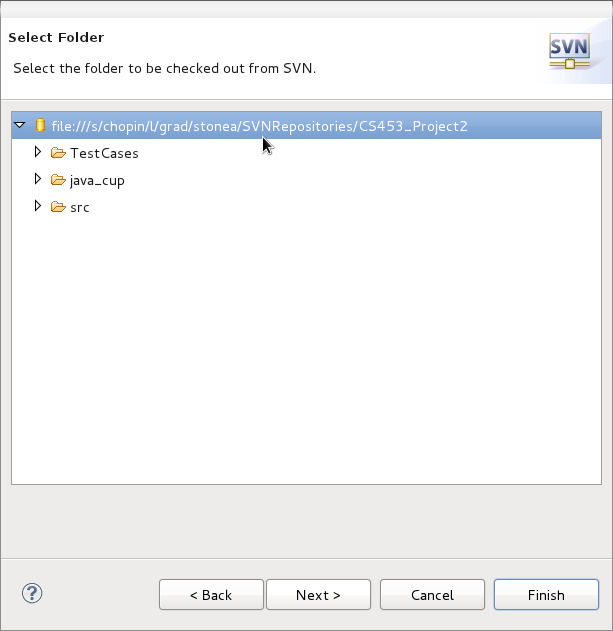
Step 5) If you entered in a valid URL the Select a Folder
dialog will appear. In here highlight the top item (the one that starts with file:///, then click next.
[ShowMe].
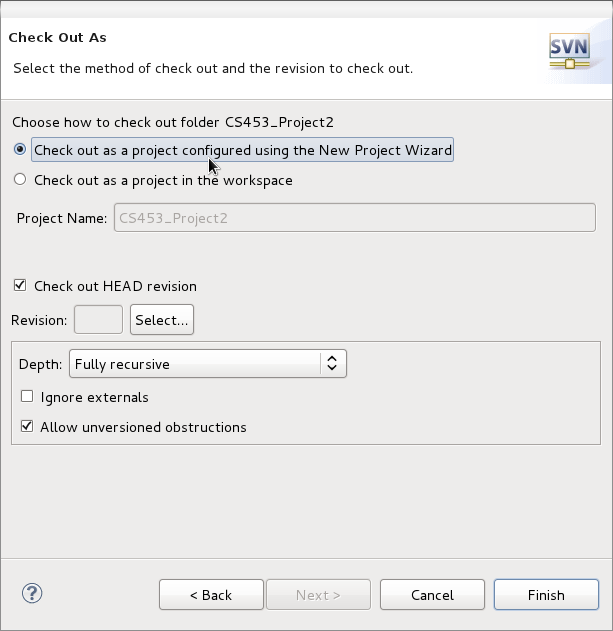
Step 6) Important! What you do here will depend on whether you've
comitted this project with Eclipse before.
At this point the Check out As dialog box will be in
one of two states depending on whether this project has been comitted from an
eclipse project before. If it has then the Check out as a project
configured using the New Project Wizard option will be shadowed out and
the text (Only available when the .project file does not exist in the
repository) will appear below it. If this is the case click
Finish and you will be done. If this is not the case proceed to
step 7.
Step 7) In the Check Out As dialog click on the check out
as a project configured using the New Project Wizard option, then click
Finish.
[ShowMe].
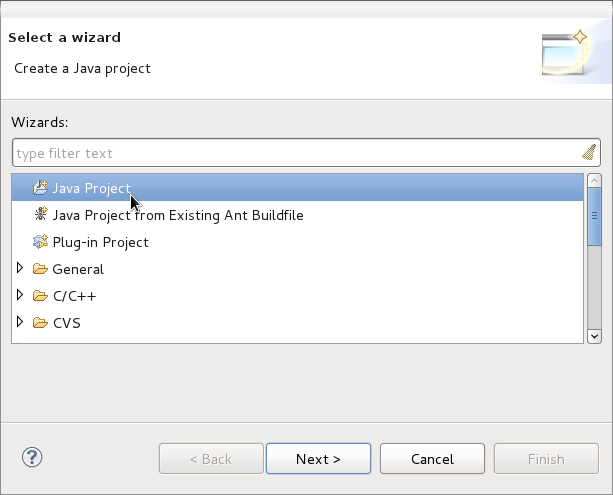
Step 8) The Select a Wizard box will appear again. This time
scroll up and highlight the Java Project option, then click
next
[ShowMe].
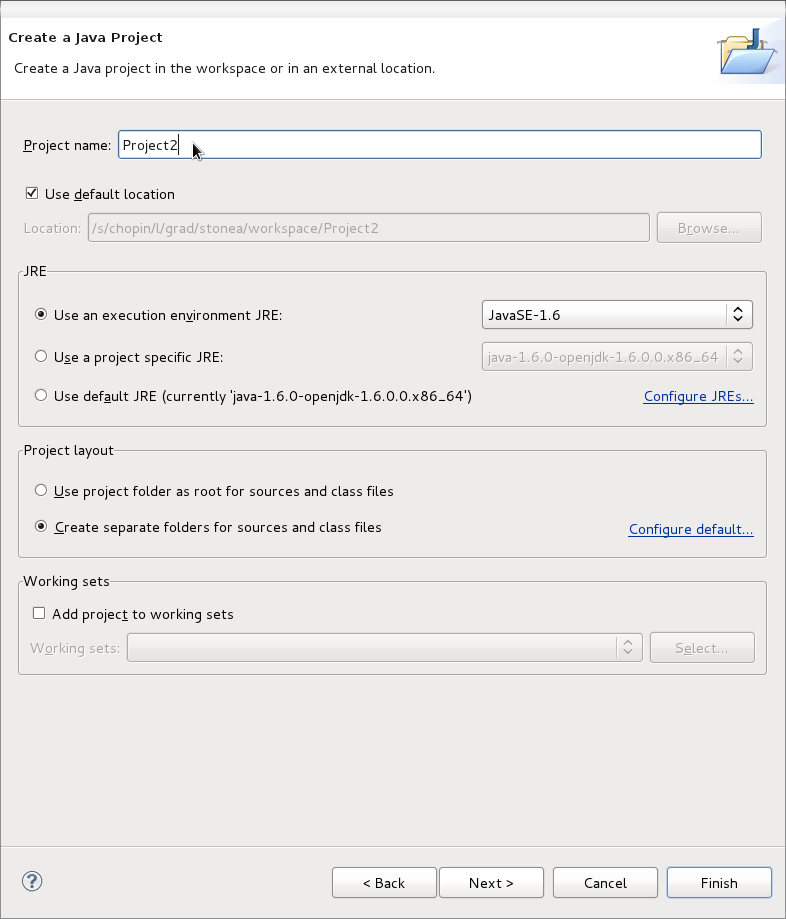
Step 9) In the Create a Java Project window give the project
an appropriate name, then click Finish.
[ShowMe].
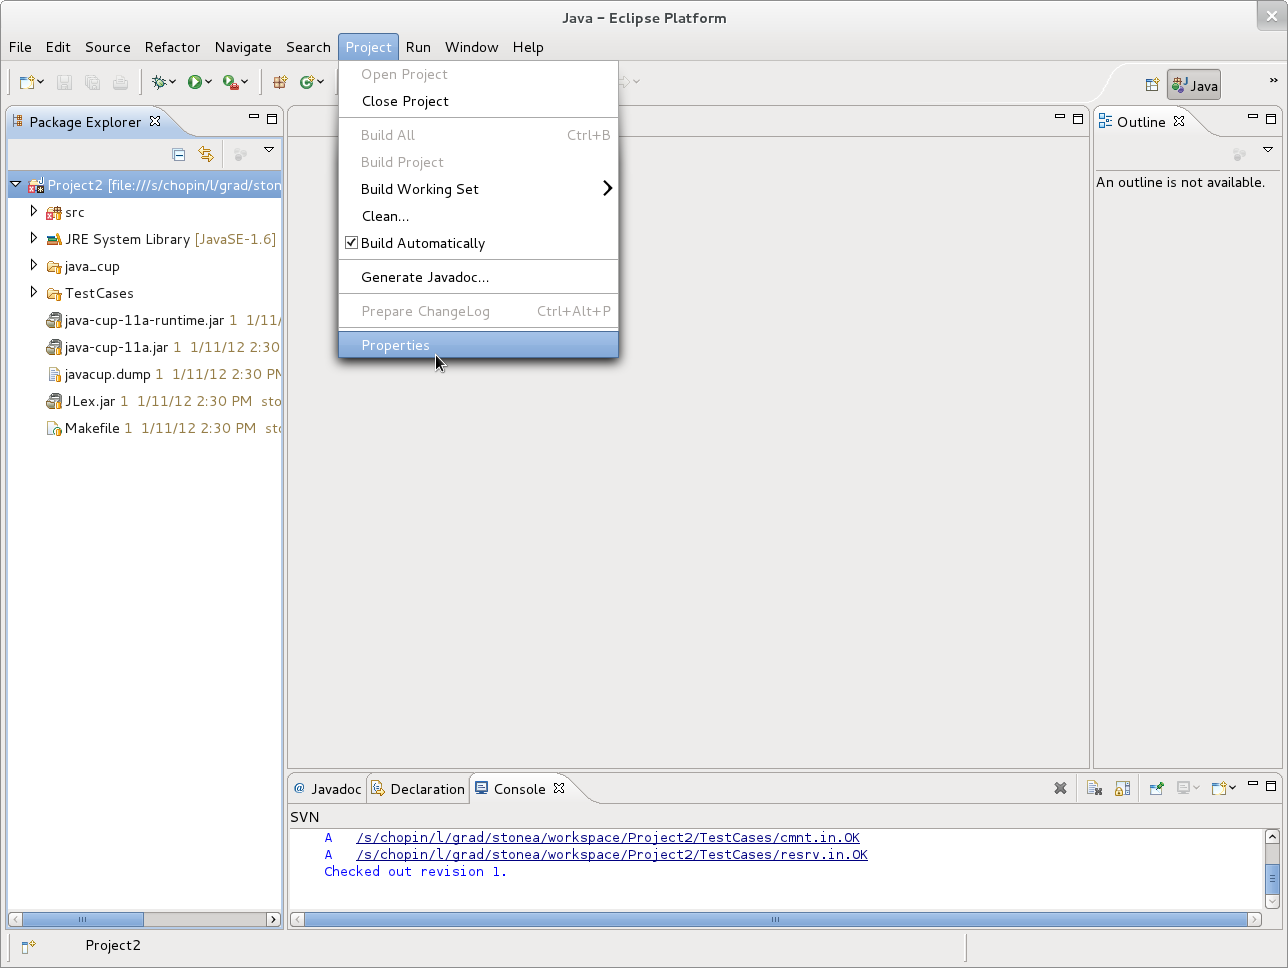
Configuring Eclipse to Use JavaCup Runtime
If your project uses JavaCup you will now need to configure it to use the
JavaCup runtime. To do this follow these steps:
Step 10) Under the Project menu choose properties.
[ShowMe].
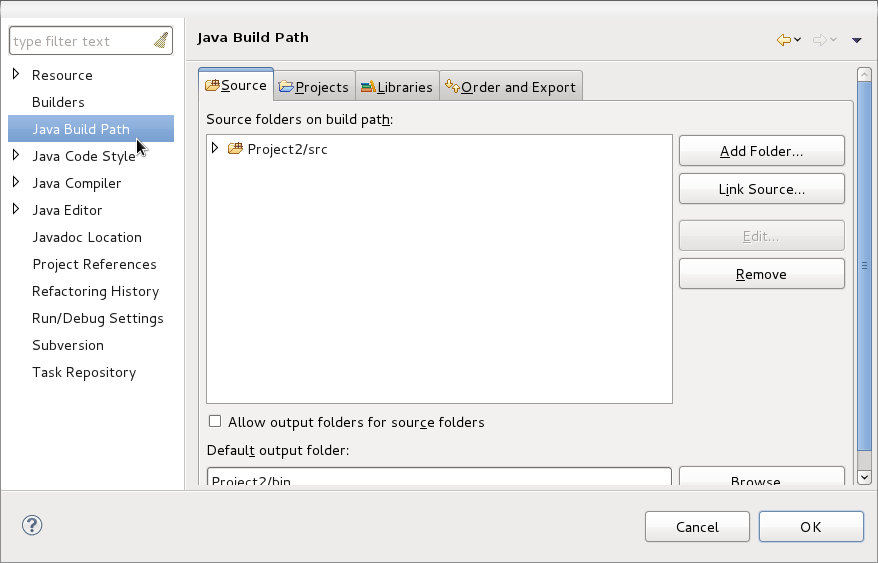
Step 11) At the left side of the window click on Java Build Path.
[ShowMe].
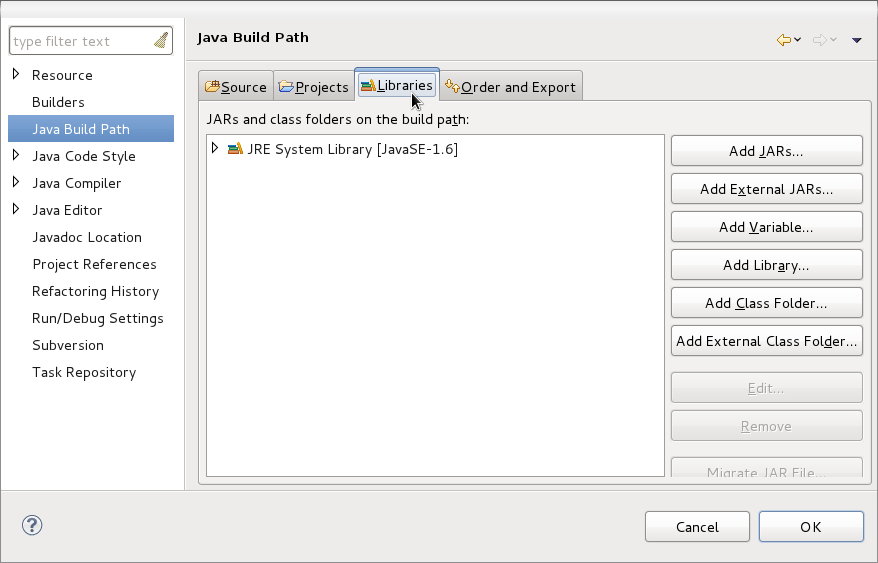
Step 12) Click on the Libraries tab.
[ShowMe].
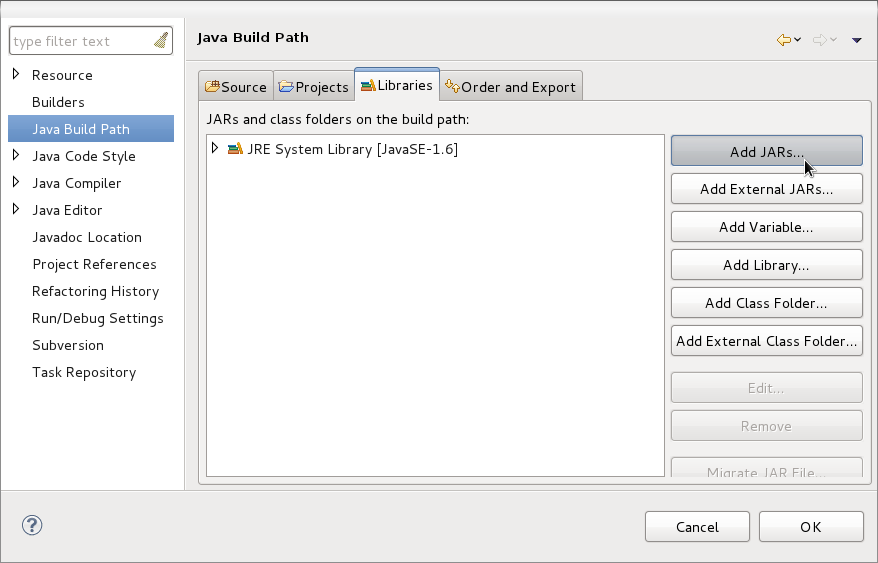
Step 13) Click on the Add JARs... button.
[ShowMe].
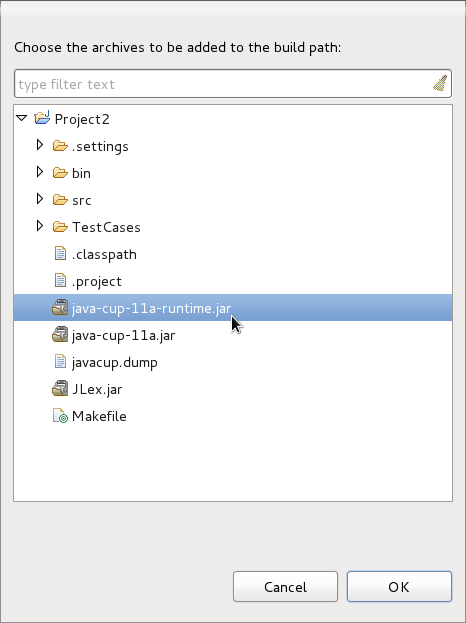
Step 14) Add java-cup-11a-runtime.jar. Then click on OK,
then on OK again.
[ShowMe].