JUnit 5
-
Set up your project with JUnit 5.
-
Get started with creating your own unit tests.
The JAR file you downloaded for P6 should already have the two unit testing classes within it. This classes are named "P6_Unit_Testing_MyArrayList" and "P6_Unit_Testing_MyLinkedList".
The first step should be to see if the JUnit 5 library is included in the project. If it is not, go to the 'Adding JUnit 5 library' section below.
To add the JUnit 5 library to the project:
- Right click on the project folder.
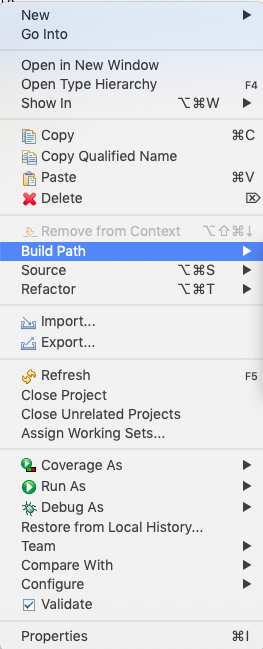
- Hover over 'Build Path...'
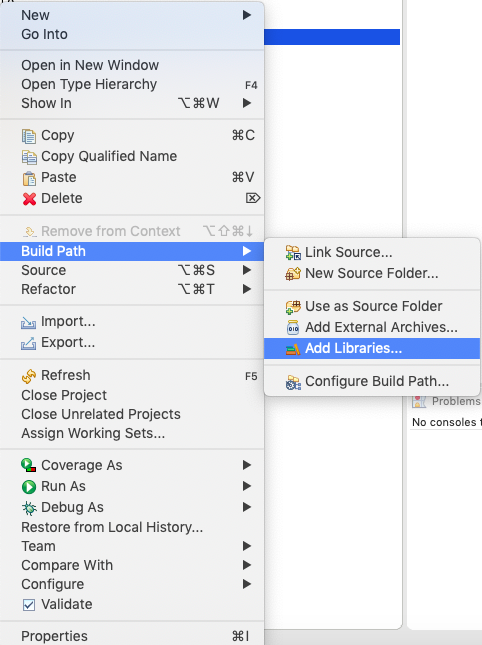
- Click 'Add Libraries...'
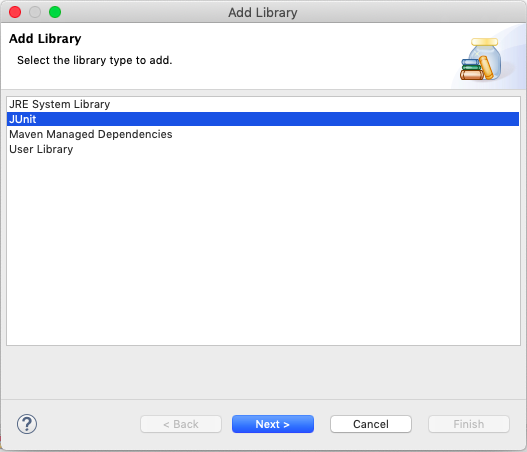
- Select 'JUnit 5' and save.

Not all of the unit tests have been included within the unit testing class. It is your job to add more tests. Make sure to test all paths to be sure your code is implemented correctly.
When creating unit tests, it may not seem intuitive but, try to write the code for your tests before writing the actual functional code.
- This will help you understand what your code should actually do before you start getting into a flow of writing.
- When programming, it is easy to fall into the cycle of writing code, finding a bug, bandaging the code, and repeat. Unit testing when done correctly will allow you to organize what task needs to be done and how to do it correctly.